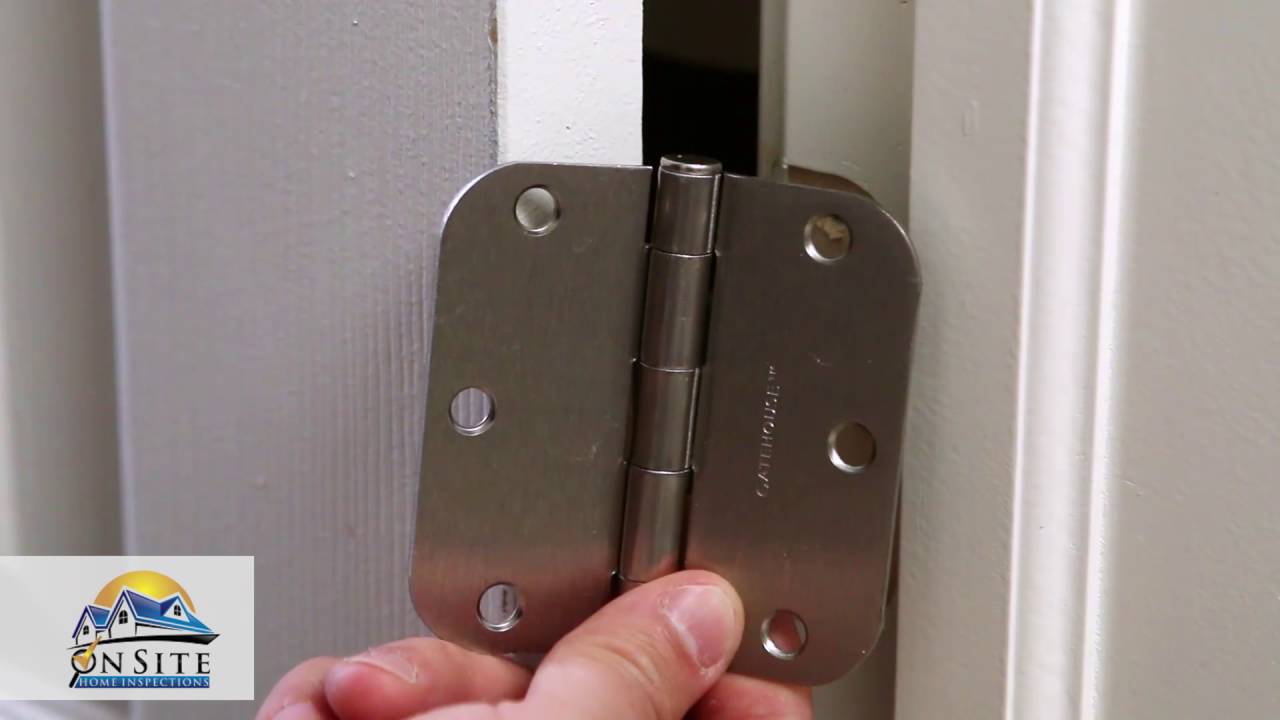
Install each leaf with two screws only not quite fully tightened.
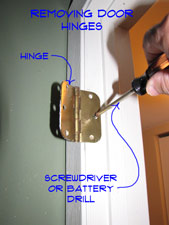
Replace door hinges one at a time.
Then move on to the next hinge then the next until they are all replaced.
Once you have shimmed the door you can replace the hinges.
On the top hinge there is one bolt that goes to the door that needs to be taken out with the door open.
Not only do i have a door that actually stays open now i also have chrome hardware instead of the gold.
2 simply remove and replace the old hinge with the new hinge.
This took me about 10 minutes.
The easiest way is to replace one hinge at a time.
There s no need to remove the door if you replace hinges one at a time.
When each hinge is in place with two screws in each leaf tighten all the screws and try the door.
This video will show you how to replace and upgrade your door s hinges the easy way.
1 first you ll need to remove the screws on both leaves of the existing hinge.
Once we were sure the latch.
Then remove the hinge pins one at a time and drop in new bushings.
Visit our website for more.
Once you have the hinge rebuilt put it back in and tighten it up.
The old knob didn t even have a latch but the hole was there.
You will repeat this process for all the hinges always keeping the hinge aligned with the top of the old location.
Support the door first.
Only do one hinge at a time.
Hold the hinge snuggly against the mortise at the top of the old hinges.
The door is supported on the striker and the other hinge.
We knew that we needed to drill a hole for the new door knob but first we had to fit the latch and faceplate.
Remove the old hinges and use a new hinge as a template.
I just had to chisel it out so the faceplate was flush.
With the door hinges done and the door hung it was time to tackle the door knobs.
Take a sharp pencil and draw an outline of the hinge on the door frame.
Start with the top.